
When designs are reaching their final form, after working through enough prototypes to feel confident in the functionality and styling, what might be the next step? While 3D printing had been useful in the earlier prototype stages, sometimes jumping straight into ordering tooling to produce parts can be a substantial gamble. The process of urethane molding and casting can help bridge this gap.
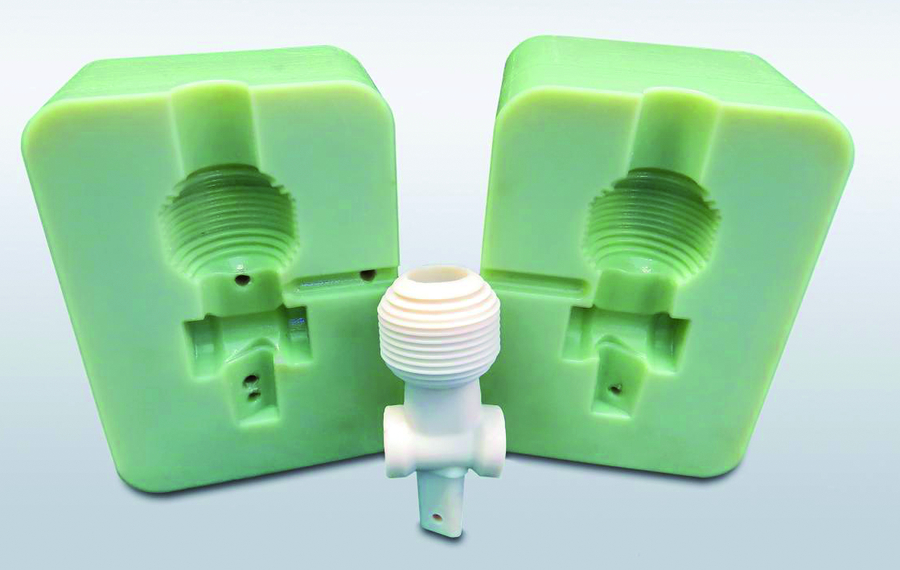
Two sided mold cavity and its cast urethane part
To create a part in this way, a mold is built, which is a hollow container that represents the shape of your part. Then, the liquid urethane or silicone is poured in and left to harden. When the final part is pulled from the mold, what you have is a prototype that closer simulates the final component than if it were 3D printed. In a 3D print, layers of material are built up on top of each other, but are not perfectly fused together resulting in a prototype that would not be an accurate test of strength. Additionally, if a show quality finish is desired, a 3D printed prototype’s surface must be substantially sanded, primed, and painted. A molded part requires none of this, as its surface finishing is built into the mold.
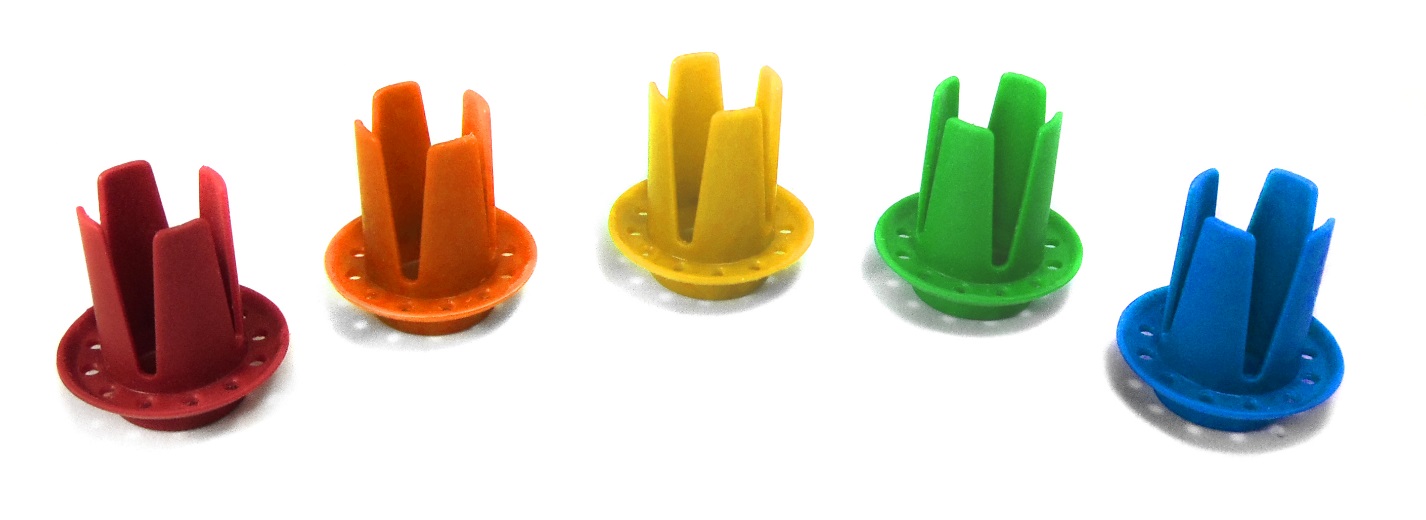
Test a variety of colors and materials
One unique aspect of this prototyping method is that it allows multiple prototypes to be made with a single mold. As many as twenty prototype parts can be pulled from a single mold before wearing out! This means with a single mold you can experiment with many different things, such as the type of material (urethane, silicone, rubber), softness/hardness of the material, or color of the material. Plus, in building this mold, you can verify the feasibility of the part design for production tooling. If you’re looking to take the next step towards creating a production ready invention, don’t hesitate to ask us here at Enhance for a quote on urethane molding and casting!